Views: 0 Author: Site Editor Publish Time: 2026-03-09 Origin: Site
Congratulations on your purchase of the DC24AE Thermal Transfer Coder! As a leading manufacturer, we understand that getting your equipment up and running quickly is vital for your production schedule. Many of our clients immediately ask for an installation video to ensure they set up the machine correctly. While our dedicated technical team will send you the specific high-definition video tutorial tailored to your model shortly, we have prepared this comprehensive written guide to walk you through the essential installation steps right now.
The DC24AE is designed for user-friendly integration into various packaging lines, offering high-speed, clear printing on flexible films, foils, and labels. Follow these steps to ensure optimal performance from day one.
Step 1: Unboxing and Inspection
Carefully unpack the DC24AE unit. Check against the packing list to ensure all components are present: the main coder unit, mounting brackets, power supply cable, ribbon spindle, and the user manual. Inspect the machine for any signs of transit damage. If anything is missing or damaged, contact our support team immediately before proceeding.
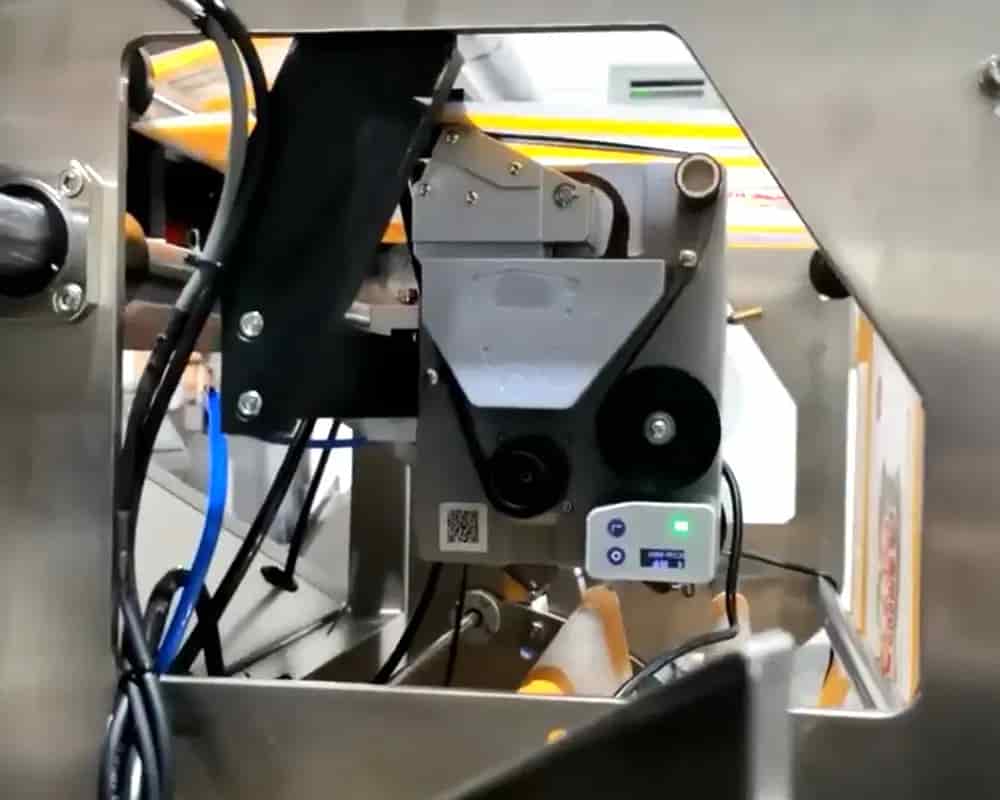
Step 2: Mechanical Mounting
Identify the ideal location on your vertical or horizontal form-fill-seal (VFFS/HFFS) machine. The DC24AE is compact, but it requires stable mounting near the sealing jaw. Use the provided brackets to secure the coder firmly. Ensure the printing head aligns perfectly with the film path where the code is required. Tighten all bolts securely to prevent vibration during high-speed operation, which could affect print quality.
Step 3: Ribbon Loading
Open the ribbon cover by releasing the side latches. Insert the supply spindle with the new thermal transfer ribbon into the lower holder and the take-up spindle into the upper holder. Thread the ribbon through the tension bars and under the print head, ensuring it is flat and wrinkle-free. Attach the leading edge of the ribbon to the take-up spindle. Close the cover until it clicks shut. Tip: Always handle ribbons by the edges to avoid fingerprints on the printing surface.
Step 4: Electrical Connection
Locate the interface port on your packaging machine’s controller. The DC24AE typically connects via a standard synchronization signal cable. Connect the signal cable to the coder and the corresponding output on your main machine PLC. Next, plug the power cord into a grounded outlet matching the voltage specifications listed on the machine label (usually 24V DC or 110/220V AC depending on configuration). Do not power on yet.
Step 5: Configuration and Test Run
Once physically installed, power on the main packaging machine first, then switch on the DC24AE. Access the digital control panel on the coder. Set your desired print content (date, batch number, expiry), font size, and temperature. The DC24AE features an intuitive menu; navigate using the arrow keys. Run a few cycles of your packaging machine without product to test the synchronization. Adjust the delay timing if the print position is too early or late. Once aligned, run a test with actual film and ribbon to verify print clarity.
Need Visual Assistance?
Reading is helpful, but seeing is believing. We know that watching the process makes installation even faster. Please reply to your order confirmation email or contact our after-sales department directly to request the official DC24AE Installation Video. Our team will provide a download link or a direct file transfer within 24 hours. The video covers advanced troubleshooting, ribbon change optimization, and deep-dive settings for complex layouts.
As the manufacturer, we are committed to your success. With the DC24AE, you are investing in reliability and precision. If you encounter any hurdles during these steps, our technical engineers are ready to assist via video call or remote desktop support. Welcome to the family of satisfied users leveraging our coding solutions!